The new
Vector Map introduced in 3ds Max 2014 gives you ability to use vector maps as texture maps and then render them with dynamic resolutions (independent of the display resolution). The rendered graphics will remain crisp and clear at any resolution. This vector map supports AutoCAD PAT Hatch, AI (Adobe Illustrator), SVG, PDF, and SVGZ formats. You can also animate the textures using a PDF file that contains animated page transitions. In this tutorial, you will use the
ai format with the format with the
Vector Map.
Step – 1
Navigate to the link
http://www.mediafire.com/?k5288w91eeo16 and download the zipped file. Next, extract
vectorMap folder to your hard drive.
Step – 2
Start 3ds Max 2014. Create a box in the viewport. In the
Modify panel, set the
Length,
Width, and
Height spinners to
100.
Step – 3
Apply an
UVW Map modifier to the box. Select
Box radio button from the
Mapping area of the
Parameters rollout.
Step – 4
Open the
Compact Material Editor. Make sure the first sample slot is selected in it and then in the
Blinn Basic Parameters rollout choose the button located next to the
Diffuse color swatch; the
Material/Map Browser will be displayed. Expand the
Maps > Standard rollout if already not expended.
Step – 5
In the
Standard rollout, select
Vector Map and then choose the
OK button; the
Vector Map is displayed in the selected sample slot.
Step – 6
In the
Parameters rollout, choose the button labeled as
None corresponding to the
Vector File parameter; the
Select Vector Image File dialog box will be displayed. Next, select
honey_bee.ai that you have downloaded at the beginning of the tutorial and then choose the
Open button to close the dialog box.
Step – 7
In the
Alpha Source area, select the
Image Alpha radio button.
The Alpha Source area has three radio buttons: Image Alpha, RGB Intensity, and None (Opaque). On selecting the Image Alpha radio button, the alpha channel embed in the image is used a source of alpha. This radio button is disabled if image has no alpha channel. When you select the RGB Intensity radio button, the colors are converted to grayscale tonal values and then they are used for transparency. If you do not want to use the transparency, select the None (Opaque) option.
Step – 8
Apply material to the box and then choose the
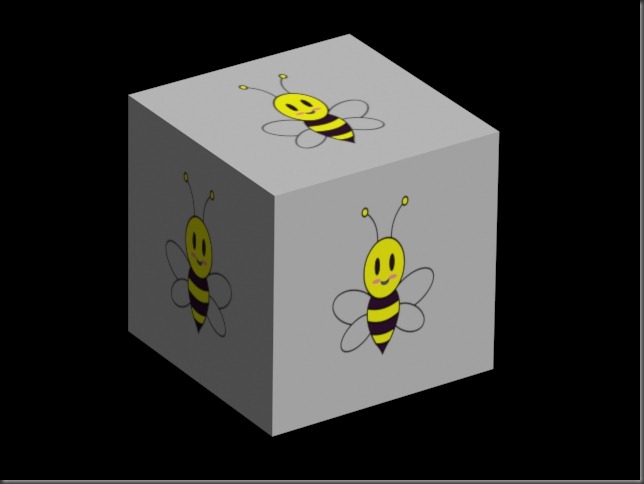
Render Production tool to render the scene. Figure tu1-1 shows the rendered output.
 |
| tu1-1 The rendered output |
Step – 9
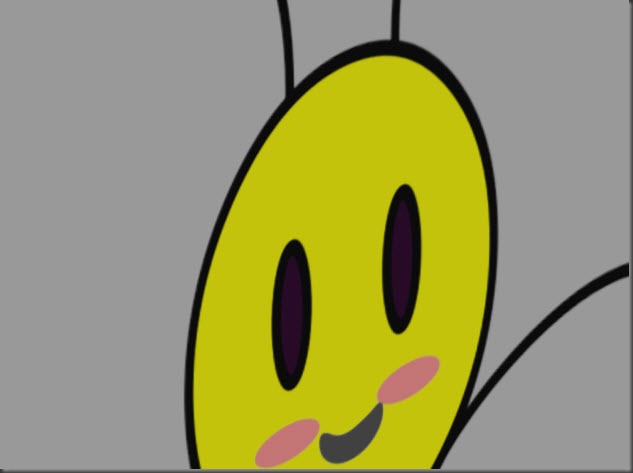
Now, zoom into the view and render again. You will notice that the honey bee image is still crisp and clear, refer to Figure tu1-2.
 |
| tu1-2 The render output of the zoomed view |
Step – 10
Save the scene.
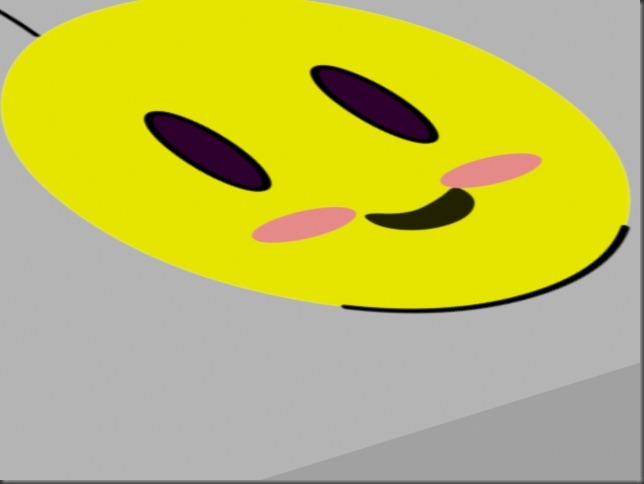
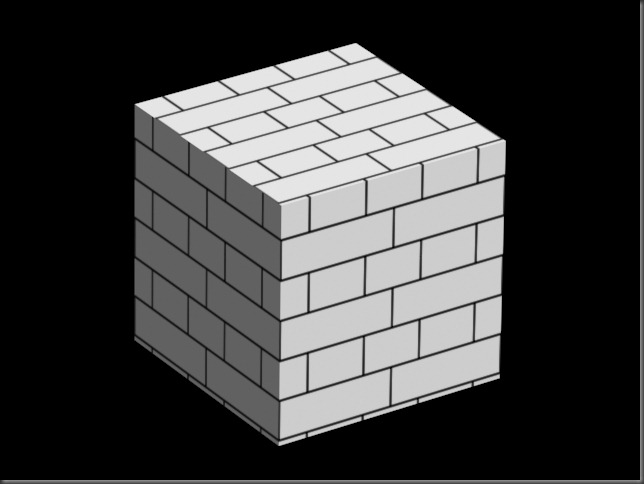
Now, you can try with various formats that the Vector Map supports. Figures tu1-3 and tut1-4 show the output using the
SVG and AutoCAD
PAT formats.
 |
| tu1-3 The output using the SVG format |
 |
| tu1-4 The output using the AutoCAD PAT format |


No comments:
Post a Comment